Render
WARNING
amvstrm's Website will be shutting down. Read more about the future of amvstrm here.
INFO
Not familiar with render stuff... Feel free to correct us
Deploy button
Quickly deploy it to render to your own account with no configuration.

Manual deploy
Prerequisites
- A Render account
- A GitHub account
- Git CLI installed on your local machine
- Node.js and npm installed on your local machine
Step 1: Fork and Clone the Repository
Fork our repo by clicking on the "Fork" button on the top right corner of the repository page.
Clone the forked repository to your local machine using the Git CLI.
bashgit clone https://github.com/<your-username>/amvstrm.git
or
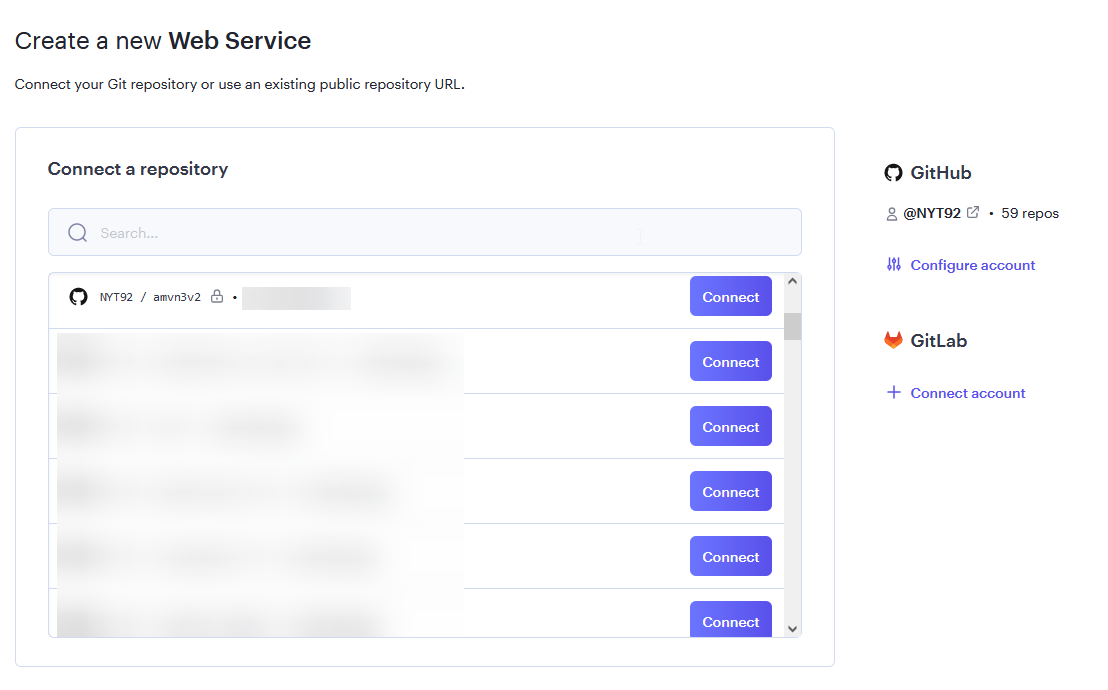
Import your forked repository and connect it to your render web services.
Step 2: Install Dependencies (Optional)
Navigate to the cloned repository directory using the terminal.
Install the dependencies using npm.
bashnpm install
Step 3: Set Environment Variables
Local
Rename the .env.example to .env and then configure any thing for your liking.
API_URL= <Your API URL or Our default API URL>
VERSION=v2 <Default version>

# OPTIONAL (For tracking & Commenting system)
DISQUS_ID=
USE_ANALYTICS=true
POSTHOG_PK=
POSTHOG_HOST=
On Dashboard
You can add environment varible on the dashboard
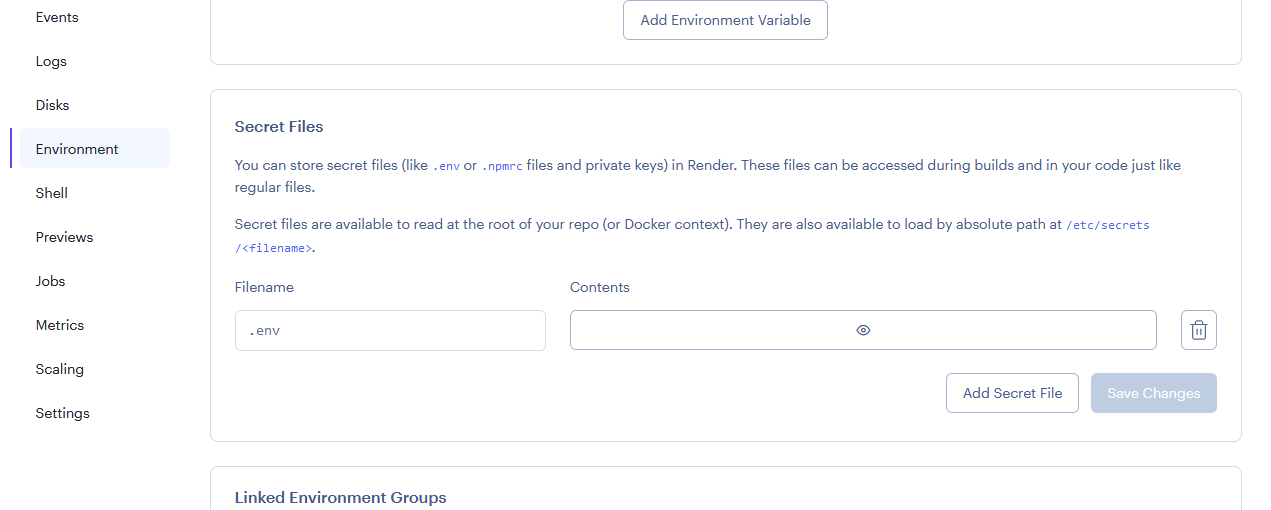
Go to Dashboard > <Your Project Name> > Environment and Add a .env to the file name and Content should be :
API_URL= <Your API URL or Our default API URL>
VERSION=v2 <Default version>

# OPTIONAL (For tracking & Commenting system)
DISQUS_ID=
USE_ANALYTICS=true
POSTHOG_PK=
POSTHOG_HOST=
Step 4: Deploy to render
Install Render CLI
Follow the prompts to complete the deployment process.
Once the deployment is complete, you can access the application by visiting the URL provided by Render.
Congratulations! You have successfully deployed our application to the web...
idk why render is so hard to config and confusing asf...